Failover Explained: Active-Passive, Active-Active and Recovery
Learn failover design for high availability: active-passive, active-active, health checks, recovery time, data consistency, and interview tradeoffs.
Quick answer: Failover Explained: Active-Passive, Active-Active and Recovery
Failover Explained: Active-Passive, Active-Active and Recovery is covered here as a practical system design concept. Learn failover design for high availability: active-passive, active-active, health checks, recovery time, data consistency, and interview tradeoffs. Use it to understand the Core Concepts idea, where it appears in production systems, and how to discuss it clearly in interviews.
Focus on the problem being solved, the main design choice, the failure mode, and the tradeoff you would defend in front of a senior engineer. This page is part of the DosiBridge system design knowledge graph, so it links related concepts, interview problems, tradeoffs, and references instead of leaving the topic isolated.
The Core Idea
Failover is the process of automatically switching to a redundant or standby system when the primary system fails. It ensures continuity of service by detecting failures and redirecting traffic or operations to a healthy backup.
Step-by-Step Walkthrough
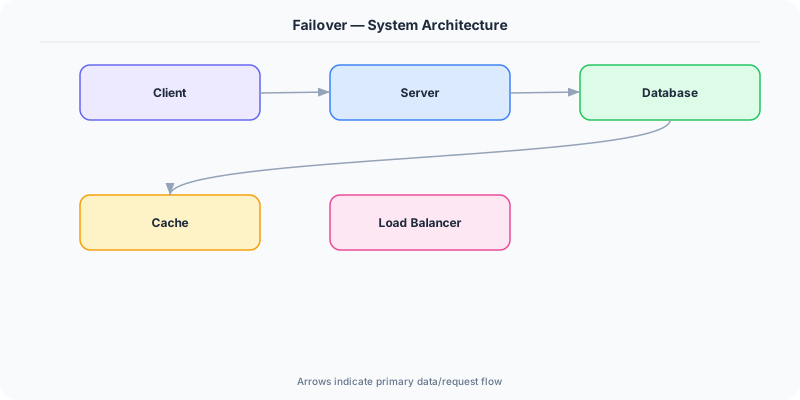
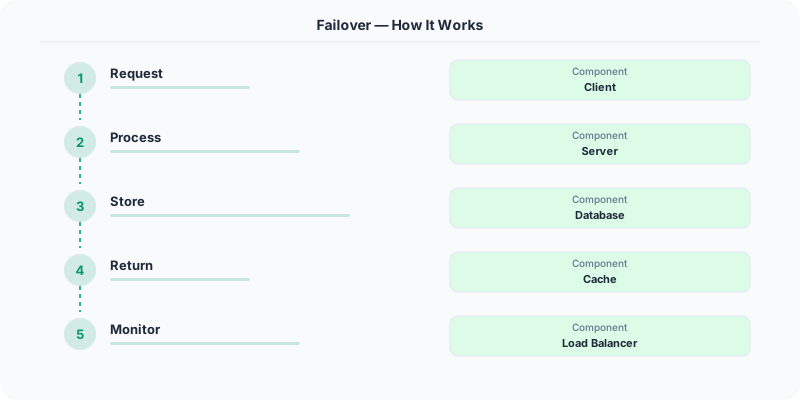
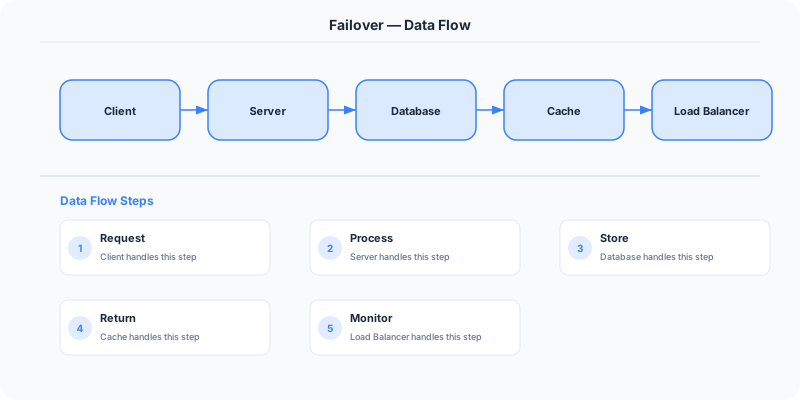
A typical failover setup: Two database servers — primary handles all writes, secondary replicates data in real-time. A health checker pings the primary every 5 seconds. If 3 consecutive checks fail (15 seconds), the system promotes the secondary to primary, updates the connection string, and starts routing traffic to the new primary. When the old primary recovers, it becomes the new secondary and catches up on missed writes.
Why This Approach Wins
- Active-passive failover: A standby server sits idle until the primary fails. Simple but wastes resources. Used for databases where only one node should accept writes.
- Active-active failover: Multiple servers handle traffic simultaneously. If one fails, others absorb the load. More efficient but requires load balancing and state synchronization.
- Failure detection: Health checks, heartbeats, or consensus protocols detect when a primary has failed. Detection must be fast but not trigger false positives.
- DNS failover: Update DNS records to point to a healthy server. Simple but slow (DNS TTL propagation can take minutes).
- Automatic vs. manual: Automated failover is faster but riskier (can trigger on false alarms). Manual failover is slower but safer for critical systems.
In Production
AWS RDS provides automatic failover for multi-AZ deployments — if the primary database fails, RDS promotes the standby replica in a different availability zone within 60-120 seconds.
Redis Sentinel monitors Redis master instances and automatically promotes a replica to master when the primary fails.
Cloudflare uses BGP Anycast failover — if an entire data center goes offline, BGP routing automatically redirects traffic to the next closest data center.
Tradeoffs and Limitations
- Speed vs. Safety: Faster failover detection means quicker recovery but higher risk of false positives.
- Active-passive vs. Active-active: Passive wastes resources; active-active requires complex state management.
- Data loss risk: If replication is asynchronous, some writes may be lost during failover.
Production Gotchas
- Not testing failover regularly — an untested failover mechanism is not reliable
- Ignoring split-brain scenarios where both nodes think they are the primary
- Setting health check intervals too aggressively, causing flapping between primary and secondary
The Interview Angle
- What is the difference between active-passive and active-active failover?
- How do you handle data consistency during failover?
- What is split-brain and how do you prevent it?
- How fast should failover detection be?
Next Up
Original DosiBridge notes for Failover Explained: Active-Passive, Active-Active and Recovery
This section is written specifically for this page, not copied from a general system-design checklist. The useful way to study Failover Explained: Active-Passive, Active-Active and Recovery is to connect the concept to a production service where growth exposes the first weak assumption in the original design. That framing changes the design discussion from definitions to operating choices.
What makes this topic distinct
- SLO: For Failover Explained: Active-Passive, Active-Active and Recovery, decide the SLO before choosing tools; otherwise the design looks clean but fails when failover changes.
- Capacity Headroom: For Failover Explained: Active-Passive, Active-Active and Recovery, decide the capacity headroom before choosing tools; otherwise the design looks clean but fails when failover changes.
- Failure Mode: For Failover Explained: Active-Passive, Active-Active and Recovery, decide the failure mode before choosing tools; otherwise the design looks clean but fails when failover changes.
- Degradation Path: For Failover Explained: Active-Passive, Active-Active and Recovery, decide the degradation path before choosing tools; otherwise the design looks clean but fails when failover changes.
- Operator Signal: For Failover Explained: Active-Passive, Active-Active and Recovery, decide the operator signal before choosing tools; otherwise the design looks clean but fails when failover changes.
Production review question
If a team adopts Failover Explained: Active-Passive, Active-Active and Recovery, what observable signal proves it helped instead of only making the architecture diagram more fashionable?
Practical metric to track
Track failover health as a named dashboard or review item: combine one user-facing metric, one saturation metric, and one correctness metric. For Failover Explained: Active-Passive, Active-Active and Recovery, this keeps the discussion grounded in behavior that can be measured after deployment instead of generic advice that sounds good in an interview but never gets verified.